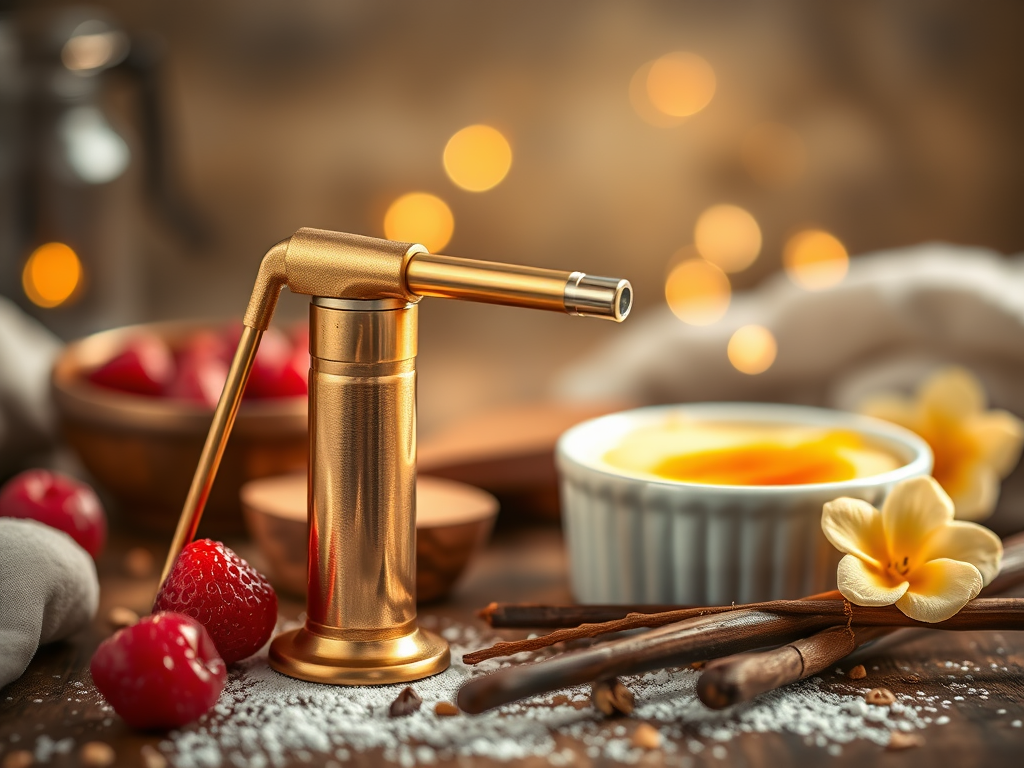
There’s something deeply therapeutic about setting sugar on fire. Enter: creme brulee. It’s smooth, it’s rich, and it literally cracks under pressure. (Relatable…except for the rich part.)
This is not your grandma’s comfort dessert…unless your grandma was secretly a French pastry chef with excellent taste and no patience for mediocracy. This dessert is for those moments when you’re feeling a little fancy and want your dessert to match your mood: sweet, dramatic, and just a little bit dangerous.
I usually make these once a year, for New Year’s Eve, because what better night to indulge in something so fancy and decadent?
This is your classic, girl next door, creme brulee. You can make flavored ones too if you’re feeling extra fancy. I’ll be sure to share some recipes for easy flavor modifications–check back for my Irish Cream Creme Brulee recipe, Amaretto creme brulee recipe, and my personal favorite, Chai Tea Creme Brulee.
What You’ll Need (besides a blowtorch and a questionable amount of self-confidence)
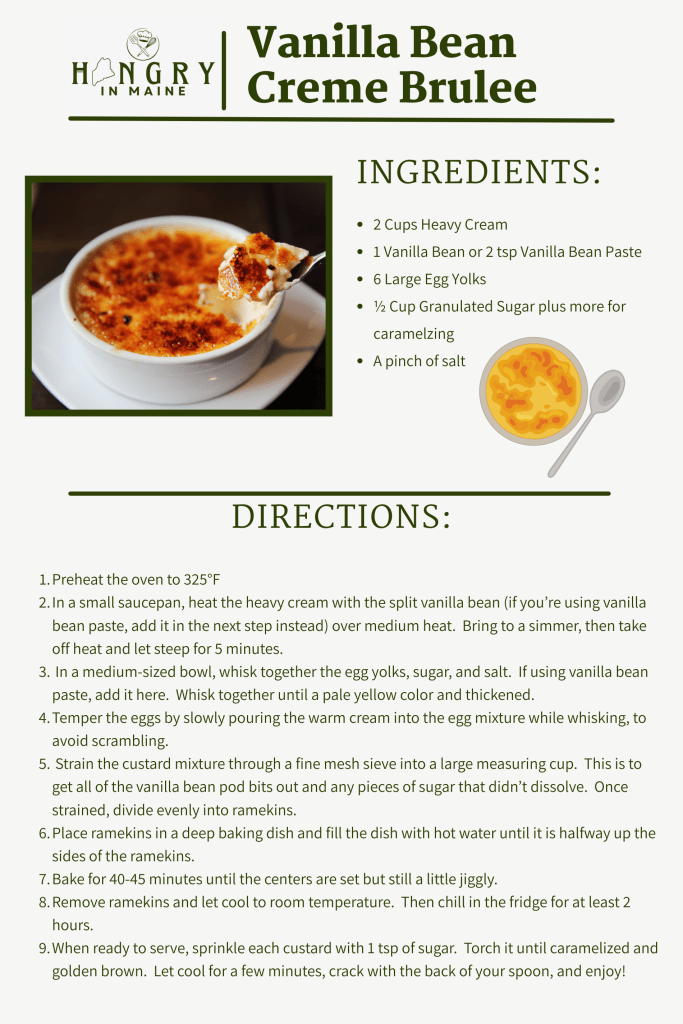
- 2 Cups of Heavy Cream
- 6 Large Egg Yolks
- 1/2 Cup of Granulated Sugar (plus more for torching)
- 1 Whole Vanilla Bean or 2 tsp Vanilla Bean Paste
- Pinch of Salt
- A small saucepan
- A whisk
- A medium mixing bowl
- A strainer
- 6 standard ramekins (or 8 smaller ones if you’re feeling dainty)
- A baking dish large enough to hold all of the ramekins
- Hot Water
- A kitchen torch (or you can use the broiler if you’re feeling brave & reckless)
Instructions:
- Preheat oven to 325°F
Put on some music too, something cozy but dramatic, this is a culinary experience afterall. - Heat the Cream
In a small saucepan, heat the heavy cream with the split vanilla bean over medium heat (or add the vanilla bean paste later if you’re using that). Bring the cream to a simmer, and then let it sit for 5 minutes–allowing the vanilla bean to have time to steep and giving your kitchen time to smell like you actually have your life together. - Whisk the Yolks and Sugar
In a medium bowl, whisk together the egg yolks, sugar, and salt until it’s a pale yellow color and slightly thickened. If you’re using vanilla bean paste instead of a split vanilla bean, you would add during this step. Do not overthink your life during this step, just whisk. - Temper Your Eggs
Slowly pour the warm cream into the egg mixture while whisking to avoid scrambling. Continue until all of the cream mixture has been added and combined with the egg/sugar mixutre. - Strain and Pour
Strain the mixture through a fine mesh sieve into a large measuring cup or bowl. This helps to catch any vanilla bean pod pieces, sugar clumps, and/or regrets. Once strained, divide evenly into the ramekins. - Water Bath Time
Place ramekins in the baking dish and fill the dish with hot water until it reaches halfway up the sides of the ramekins. This protects the custard from burning and cracking, which is more than I can say for most of my relationships. - Bake for 40-45 minutes
Until the centers are set but still a little jiggly; kind of like me. - Chill
Remove ramikins from water bath and cool on the counter to room temperature, then chill in the refridgerator for at least 2 hours. I prefer to make these the night before and let them chill for up to 24 hours–you can’t rush greatness, or custard. - Torch It
When ready to serve, sprinkle each custard with approx. 1 tsp of granulated sugar. Lightly roll and shake the ramikin to distribute the sugar in a thin, even layer. At this point, torch it! Make sure to constantly move the torch across the surface of the sugar, or it will burn; you want it caramelized and golden, not burnt. Once all the sugar is melted, golden, and crackly, you’re ready to serve! If you don’t have a kitchen torch, you can also use the broiler of your oven. If you use this method, be sure to watch the custards like a hawk–the sugar will burn faster than my patience in traffic. - Serve It
Once the golden sugar has hardened, you are ready to serve! Crack through the top of your custard with the back of your spoon like the badass that you are! Serve it with some fresh berries to balance out the sweetness if you’d like.
Serving Breakdown: This makes 6 standard sized ramikins if you fill each one about 3/4 of the way full. Each one is rich enough to share, but like….why would you do that?
Final Thoughts:
This is not a quick dessert, but it is a lot easier to make than you would think. This is a main character dessert. It requires time, patience, a little heat, and a dramatic reveal. Just like you.
Welcome to Hangry In Maine; you’ve officially started something unique. And delicious.


Leave a comment